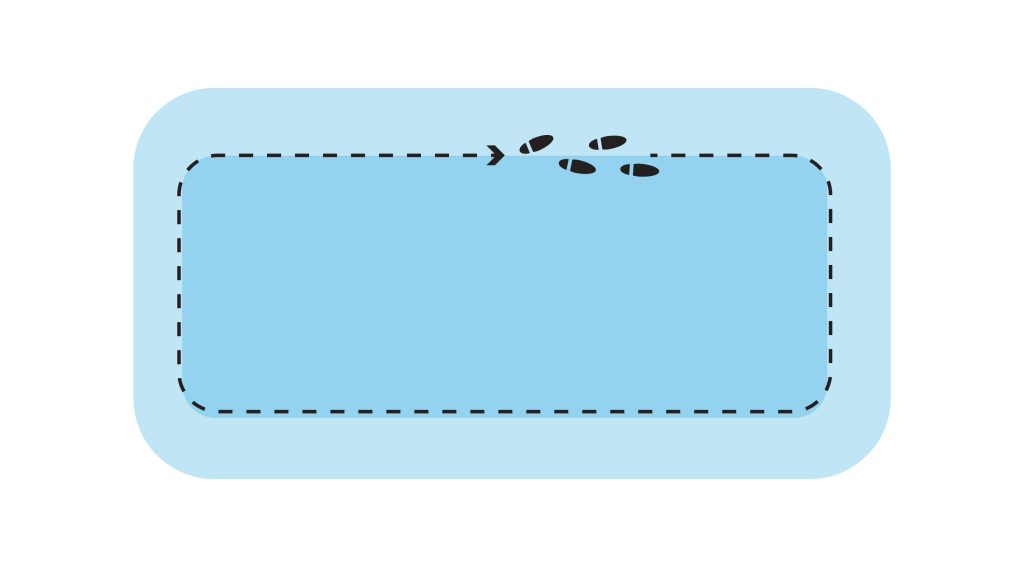
Installation of a rectangular-shaped pond
Once you’ve completed the survey and used the designer to order the correctly sized liner, all that’s left is the installation to finish your custom pond or water reservoir.
Don’t worry, we’ll help with the installation too! Read our detailed guide.
Installation only in three easy steps #
1. Installing the geotextile
2. Installing the pond liner
3. Enjoy the result of your work


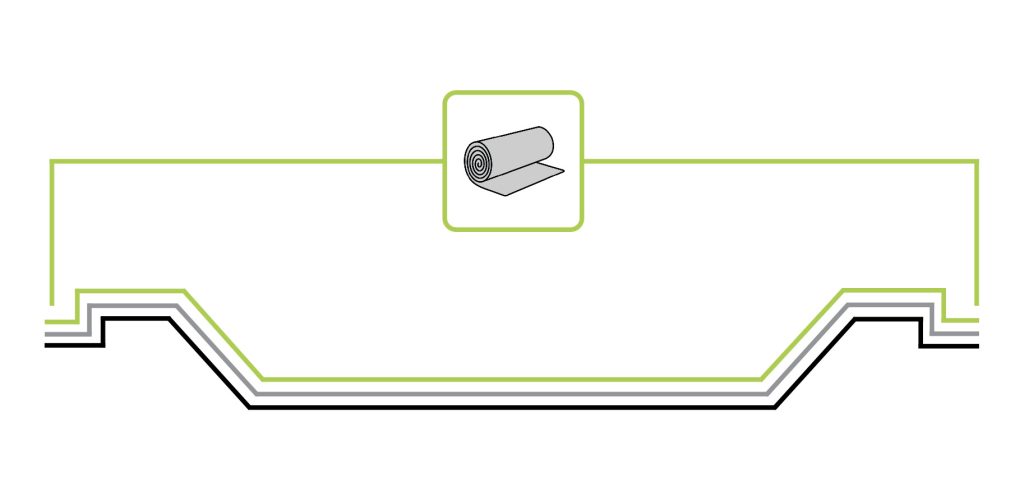
1. First, install the geotextile #
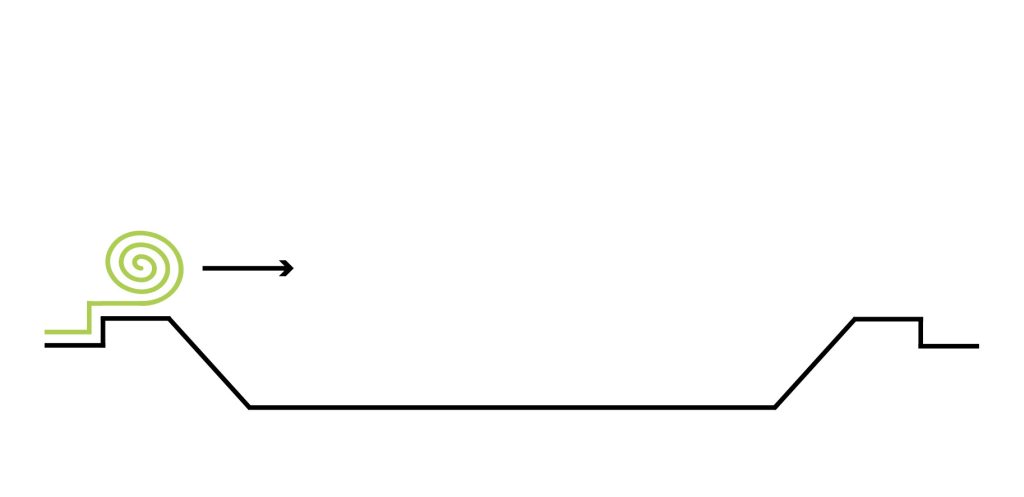
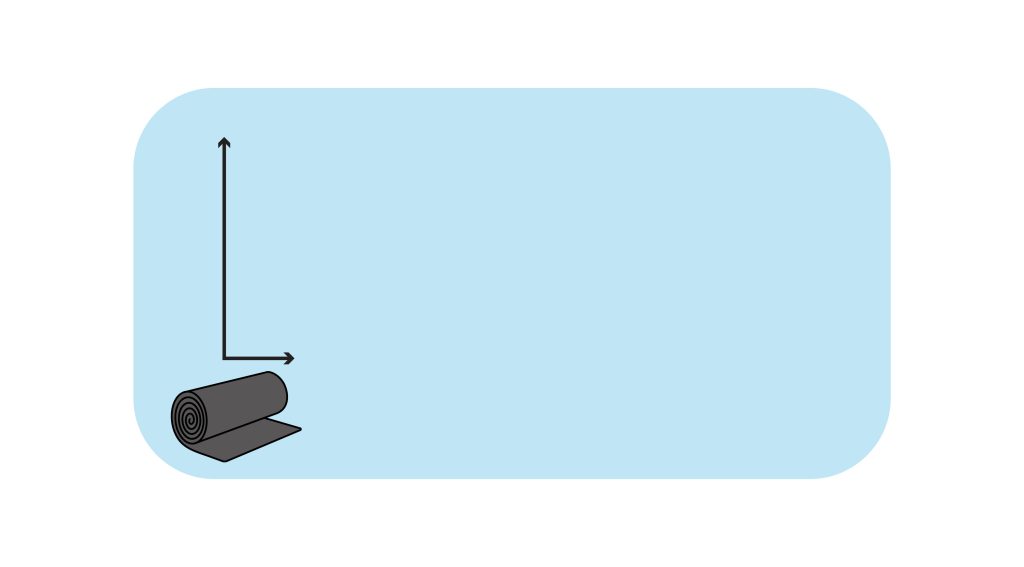
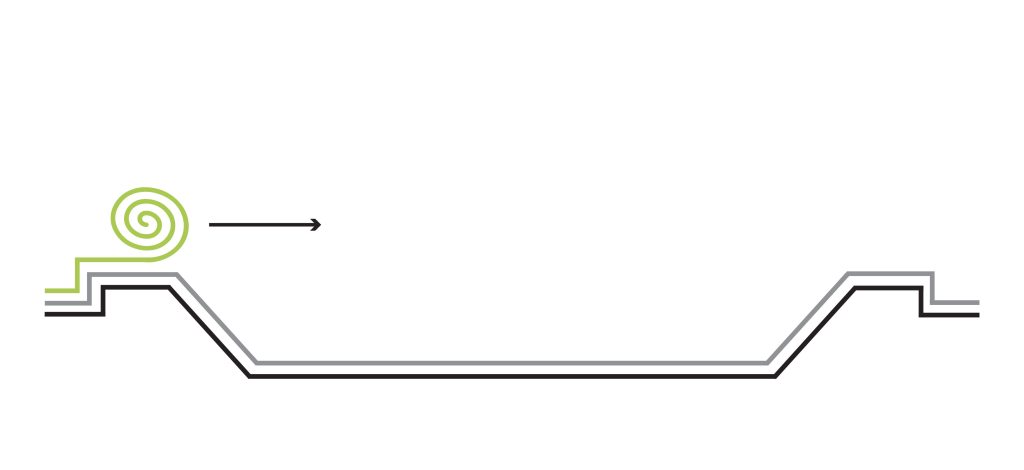
Place the geotextile at the beginning of the anchoring trench so that the front edge of the sheet aligns with the start of the trench, then begin unrolling it according to the opening directions we’ve marked.
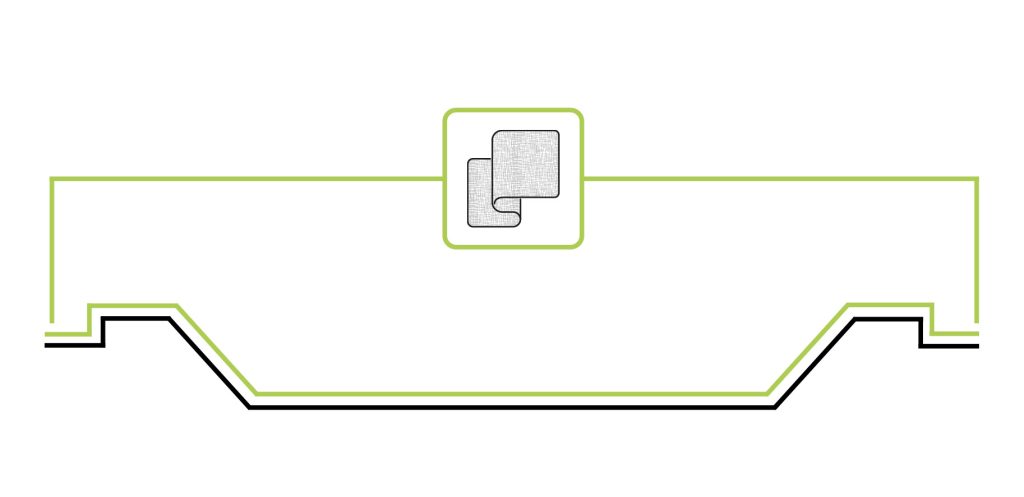
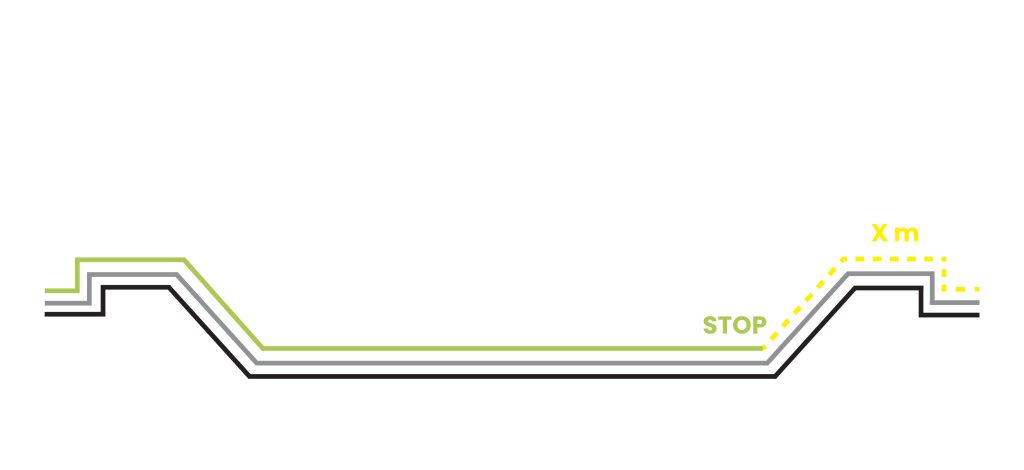
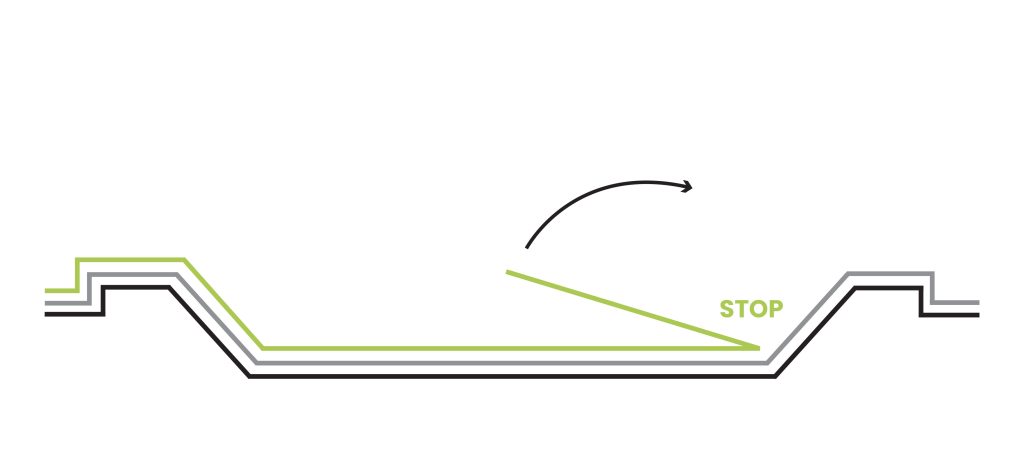
When you reach the point where the basin bottom meets the basin side with the geotextile, stop pulling—don’t fold it up onto the anchoring trench yet.
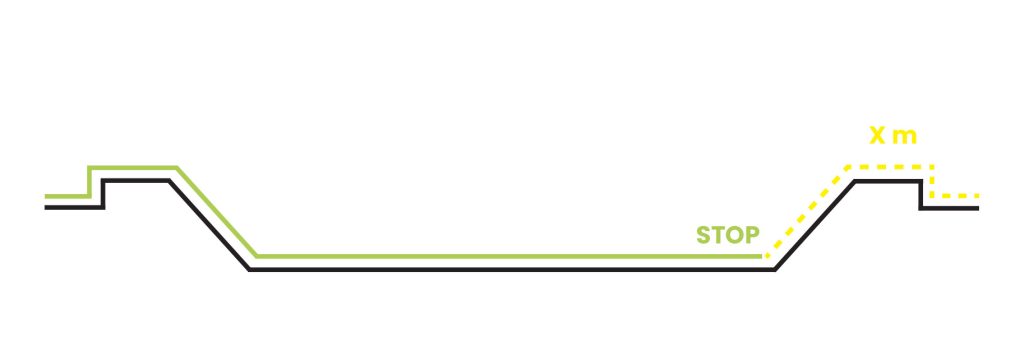
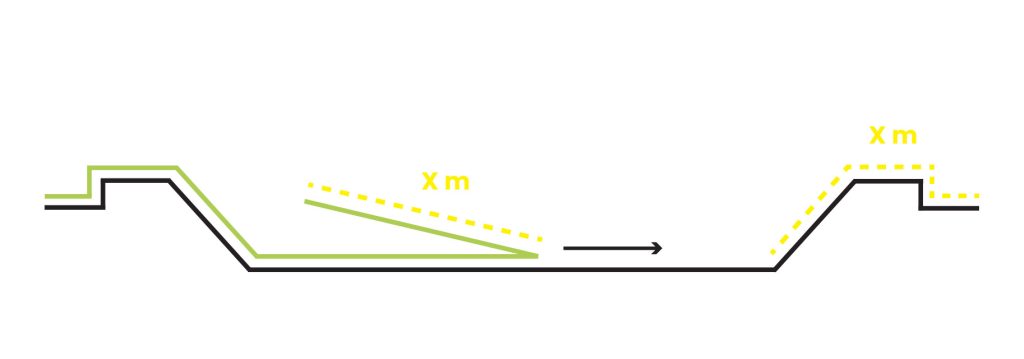
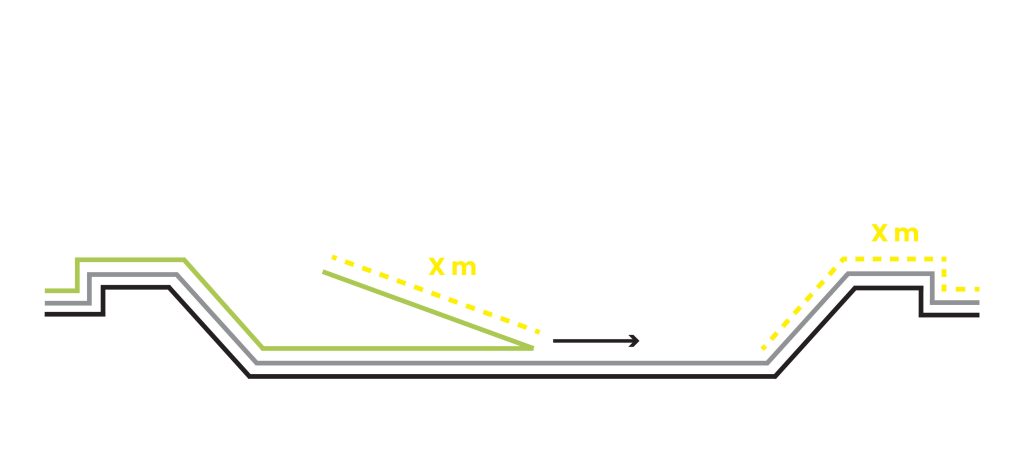
Fold back enough of the material onto itself to cover the section marked “x m.”
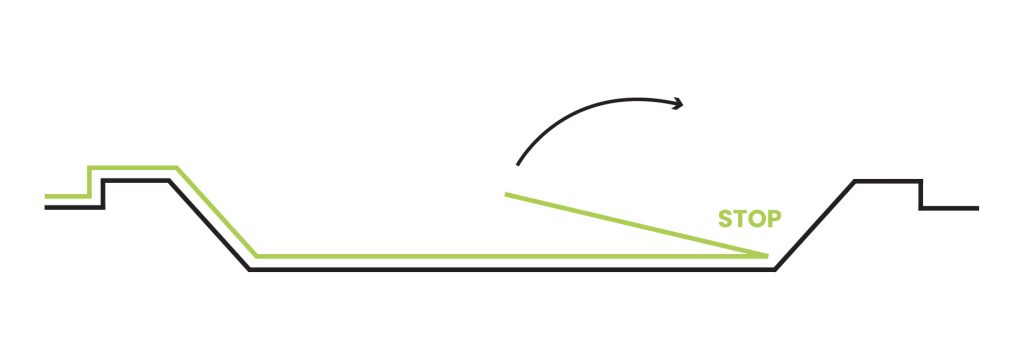
Then grab the edge of the material (at the fold line) and pull it back to the point where the basin bottom meets the side wall.
Finally, unfold the previously folded section onto the anchoring trench.
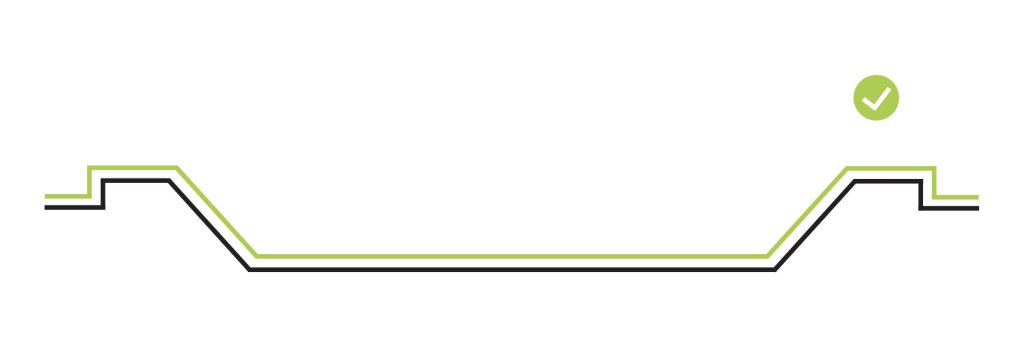
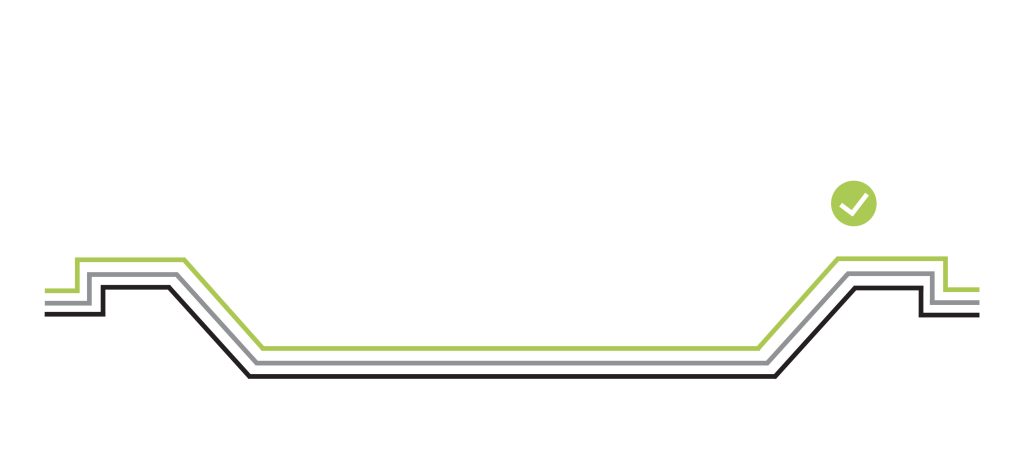
That completes the first step. You’ve installed the geotextile!
2. Next, you need to install the pond liner #
Place the pond liner in the basin at the beginning of the anchoring trench, following the opening directions we’ve marked on the liner.
Start unrolling the pond liner at the beginning of the anchoring trench as well.
Pull the pond liner only up to the side of the basin, don’t fold it up onto the anchoring trench yet.
Fold back enough of the material onto itself to cover the section marked “x m.”
Then grab the edge of the material (at the fold line) and pull it back to the point where the basin bottom meets the side wall.
Finally, unfold the liner onto the anchoring trench.
That means you’ve successfully installed the pond liner too!
Just a bit of adjustment and you’re done! #
Firmly press the pond liner into the edge where the basin bottom meets the side wall to ensure the liner doesn’t stretch or pull anywhere.
Check all the edges, and if needed, adjust them by hand. You can also create waves in the liner along the edges to add a bit of extra material.
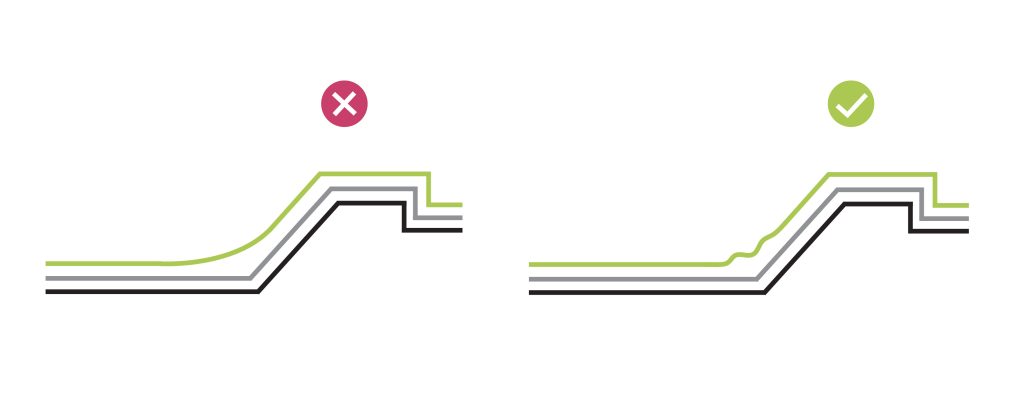
This is very important because if you fill the basin with water and the liner is stretched anywhere, it could tear under the weight of the water.
3. With that, the installation is complete! #
Sit back and enjoy the final result!